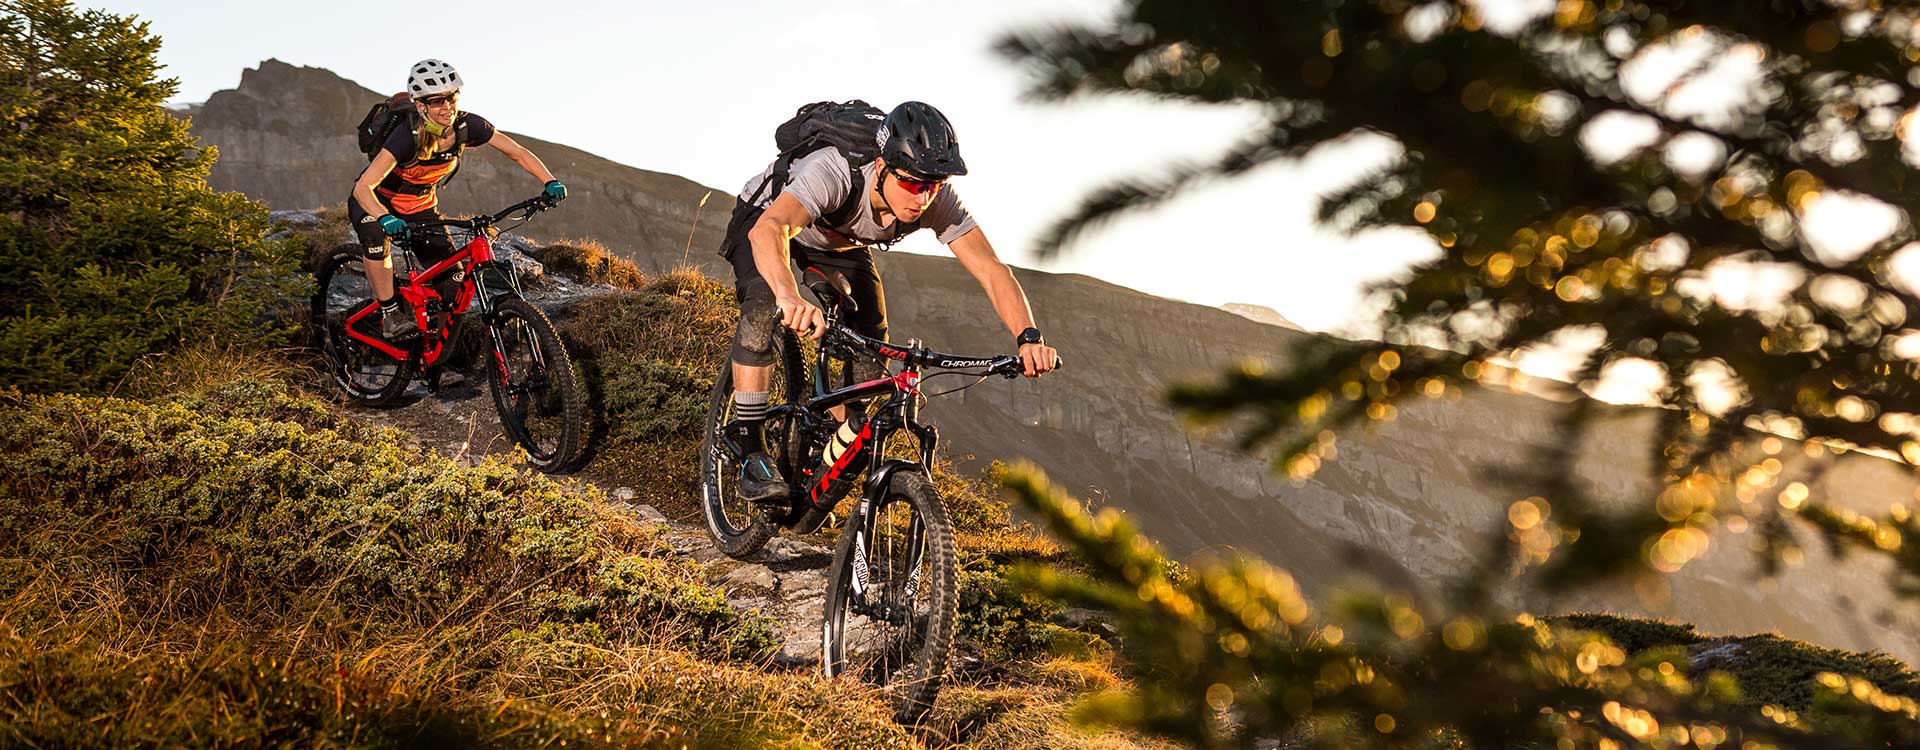
Good mountain bike riding technique is essential if you want to have fun cycling cross-country and on our trails. To take on the trails with flow and passion, and above all, safely, you need to know the most important MTB riding technique tips. From the correct base position and proper braking and gear changing technique to line of vision going around bends, we’ve put together a short summary of the most important mountain bike techniques for you here. Just getting started with your mountain biking career? Then we recommend visiting the LAAX School. Our bike guides offer various group and individual courses to help you practise your MTB riding technique with the pros.
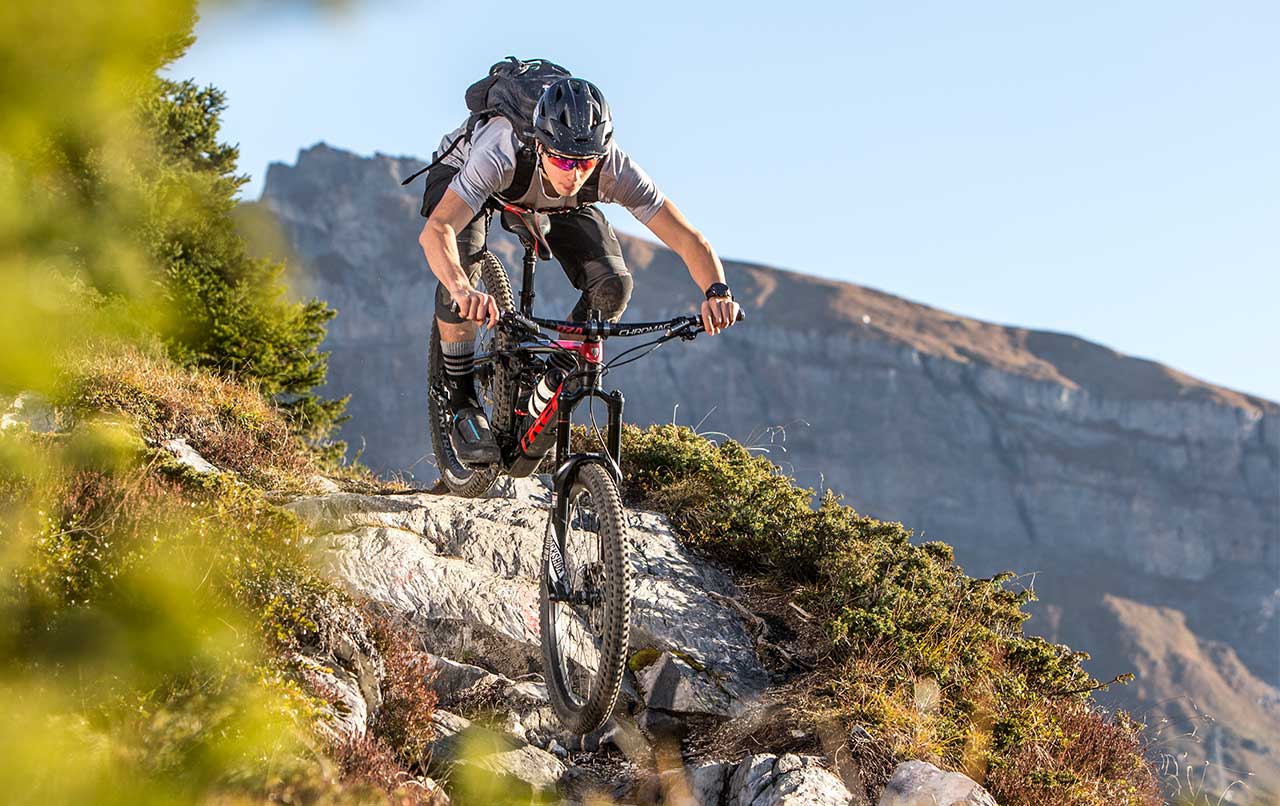
The base position is the foundation of correct MTB riding technique. To master more complex passages and increase your speed, it is important that your posture on your bike is correct. Take note of the following with regard to your base position when going downhill:
Once you’ve mastered the base position of mountain bike riding technique, it’s about developing your balance. Good balance is one of the most important factors in controlling your bike safely and preventing falls. A good exercise to improve your balance is the ‘track stand’. This means balancing on your bike on the spot. Activate the brakes, position the front wheel slightly to the side and stand on the pedals. Direct your gaze forward and try to find a stable position. Using this bike technique, you can easily develop your balance whenever you wish.

The second part of perfect MTB technique is braking. Modern disc brakes are strong enough to be used with a single finger (index finger). The other four fingers remain on the handlebar grip. How to brake correctly:
With these tips, you will improve your mountain bike riding technique and make your way safely and securely across the terrain.
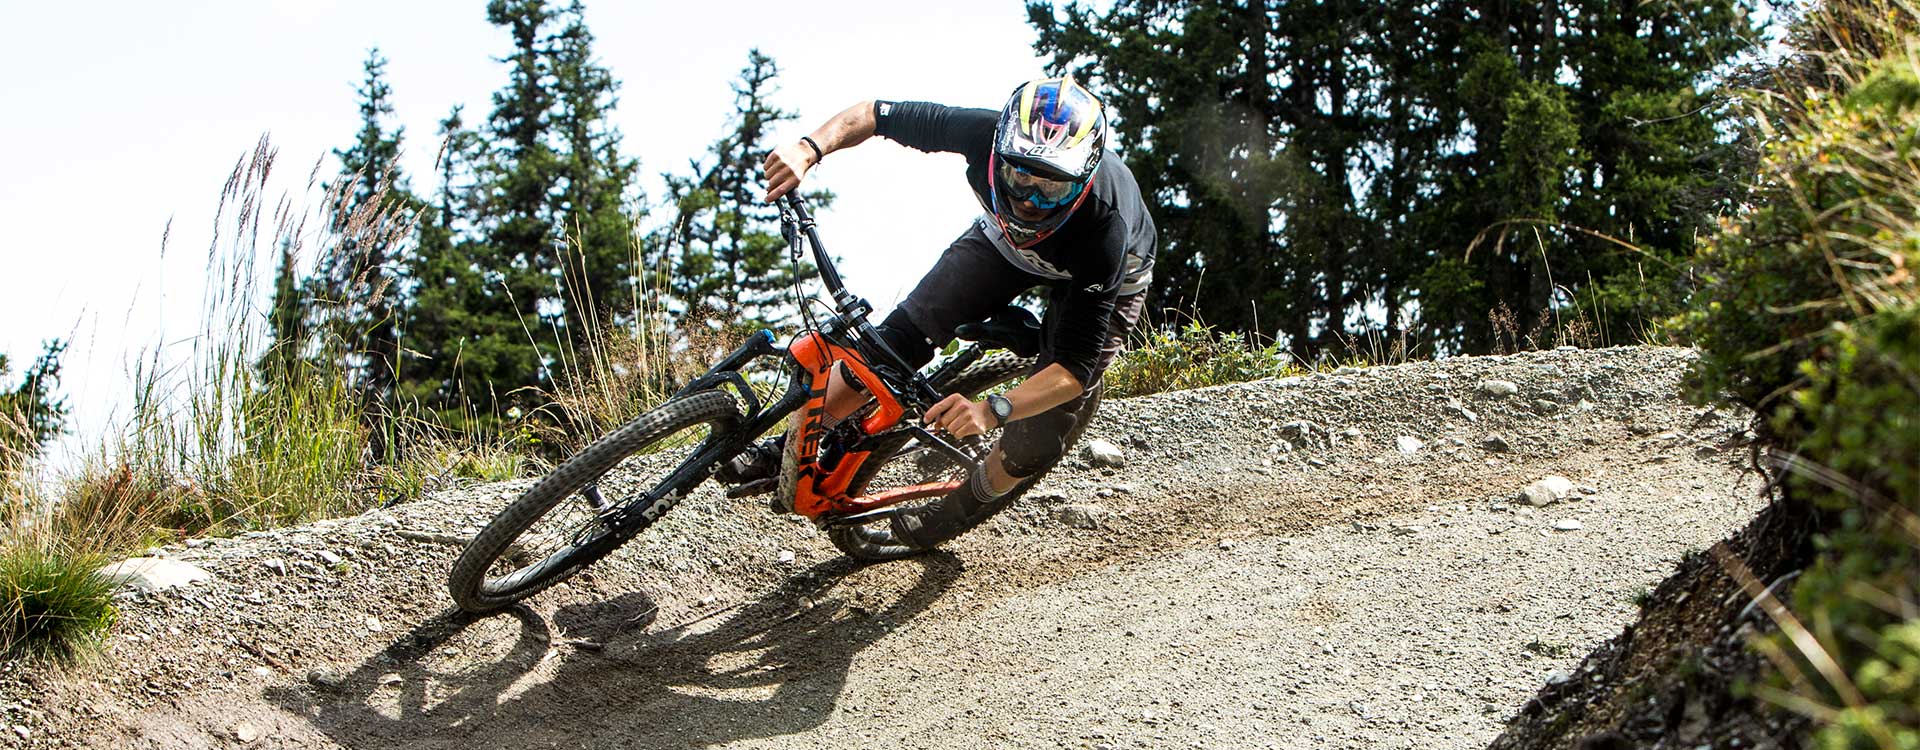
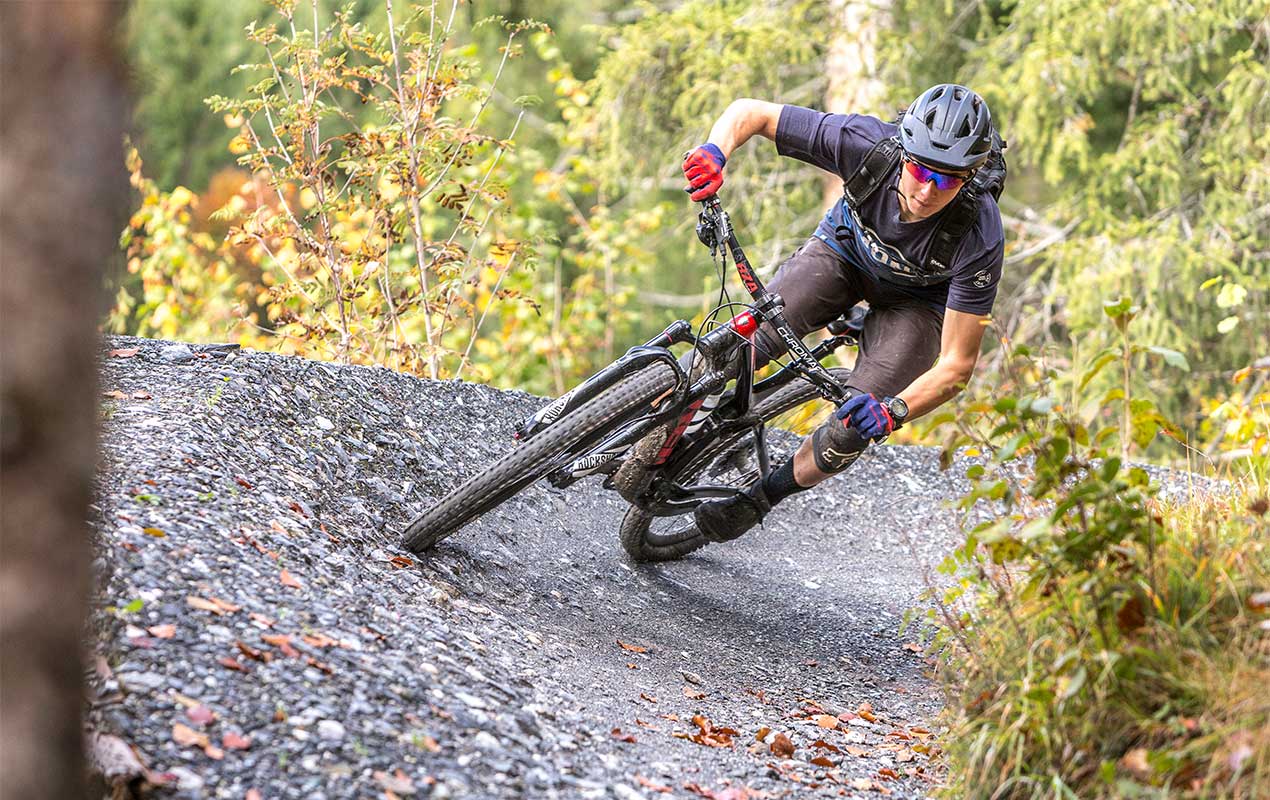
Once you’ve mastered the base position and braking, the next step in MTB riding technique is going around bends. Bends with berms offer the greatest flow experience, and here’s how to manage them:
With this mountain bike technique, you will be able to handle every bend safely and securely Our tip: use the Skill Areas located at the base stations in Laax and Flims to safely train your bike technique. Here, you will find berms, bumpy and rocky areas, hairpin bends and obstacles to help you improve your MTB riding technique before you hit the open terrain and trails. You will also find various mountain bike camps in Flims, where you can train with like-minded people and get tips from the pros.
Good MTB riding technique also involves changing gears correctly. Once you can do this, you will be better prepared to make your first attempts at the trails. Depending on the model, your mountain bike will have between 10 and 30 gears. You have 1-3 chain rings on the front and 9-12 sprockets on the back for fine-tuning. The gear you choose depends largely on the type of terrain you are on. Typically, however, you ride uphill using the smaller or middle chain ring and downhill with the large chain ring. Select a gear you feel comfortable in. In case of doubt, choose an easier gear with higher cadence. Riding with foresight is recommended so you can select the right gear in good time. First, change the gear in the front, then select the appropriate gear ratio in the rear. How to change gears correctly: