Before you hit the slopes, you need to do one important thing – set up your ski bindings or snowboard bindings. It’s not just about optimal power transmission and comfort, but also safety. You should set up your skis so that there is no risk of injury in case of a fall. Individual preferences and skiing or snowboarding style also play a role in how the ski binding or snowboard binding should be set up. Sounds complicated? We’ll show you how it works in three easy steps.
Buying a suitable ski binding
Before we get to the tips on how to set up your ski binding, you need to make the right decision when purchasing your bindings. There are three different types of ski bindings. The most frequently used is the safety binding. It is used for alpine skiing on the slopes. The safety binding can be combined with a damping plate, which provides additional support to the edges of the skis in the case of extreme carving manoeuvres.
As well as the safety binding, there are also touring and freeride bindings. In the case of touring bindings, there are frame bindings, which work like standard safety bindings, but are heavier and have a higher standing height, and pin bindings. These work in a completely different way to standard safety bindings. They are lighter and are generally not DIN certified.
Park and powder bindings are particularly strong. They have a low height, quick release and low weight. They are also stronger than standard ski bindings, so they can come through hard landings unscathed.
All ski bindings can be made from both higher-quality and lower-quality materials, which is also reflected in the price. If you’re just getting started with skiing, then a low-cost binding is sufficient. For seasoned skiers who place higher demands on their bindings, investing in more expensive bindings pays off.
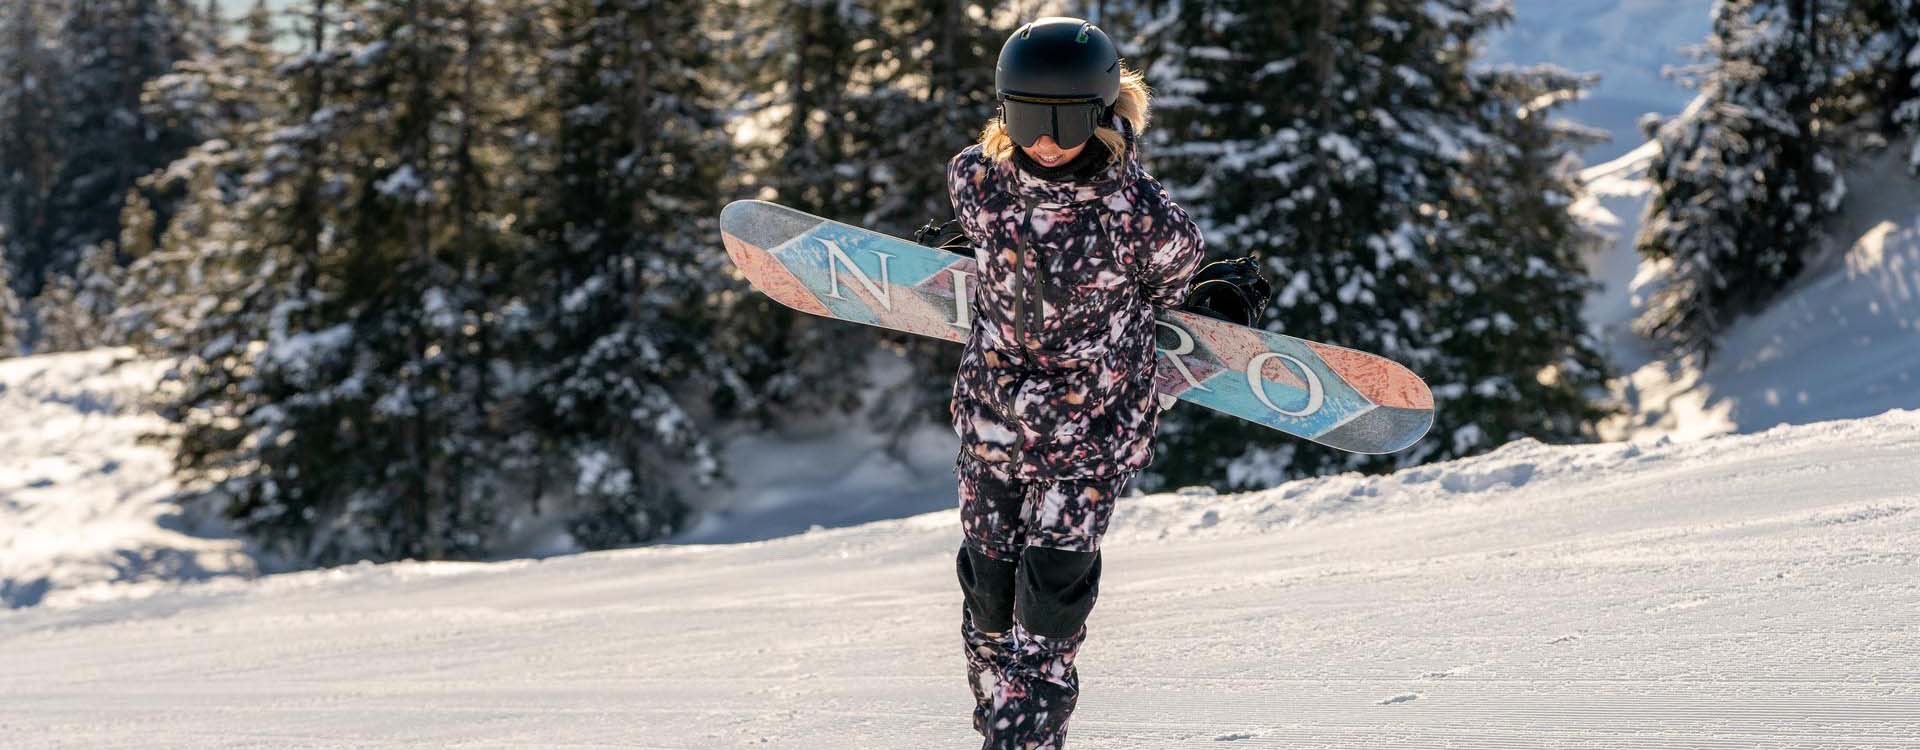
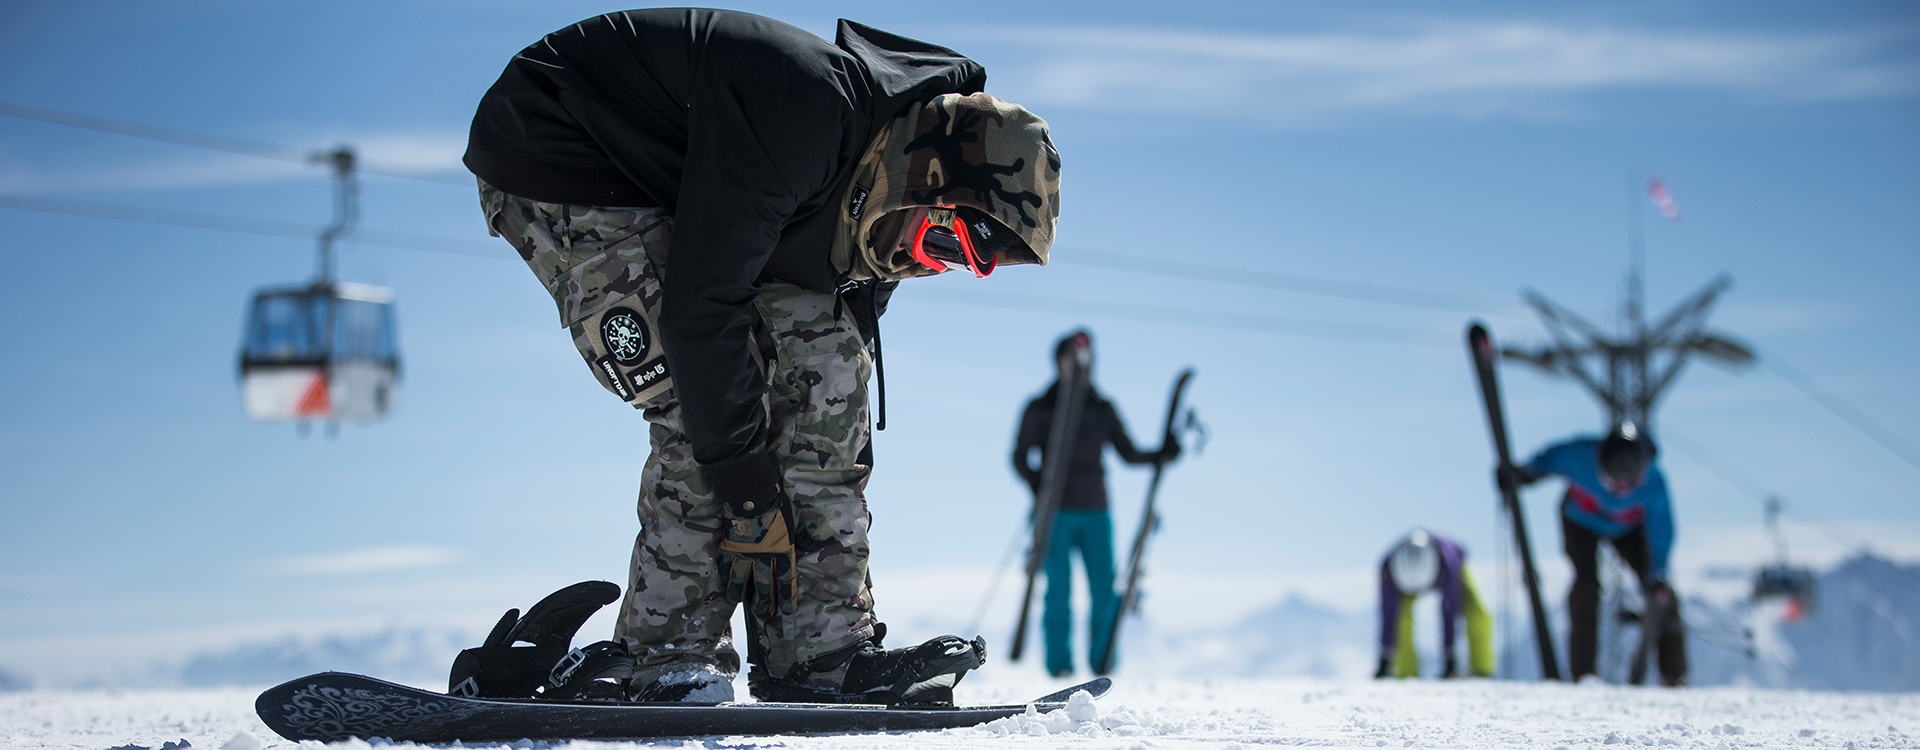
Buying a suitable snowboard binding
In the case of snowboard bindings, there are conventional two-strap bindings, speed-entry systems and step-in bindings. With two-strap bindings, there are two straps which you can close and open by means of ratchets. With the speed-entry system, you just pull back the rear part of the binding, known as the highback, and then get in from the back. Step-in bindings have a mechanism that allows you to fix yourself into the binding while standing up. The binding is then primarily fixed to the boot. Which binding you want to use largely comes down to personal taste.
What is important for optimal set-up is to ensure the right proportions between boot size, snowboard and bindings. It is not just the length that can be set up and adjusted, but also the width of the binding plate, or base plate. It should have exactly the same measurements as the sole of your boot in both length and width. Choose the correctly sized binding (S, M or L) and adjust it to your boot size using the straps and the highback.
One final aspect to consider is the rigidity of the highback. On a scale of one (very soft) to ten (very rigid), you set the level of flexibility of your binding to the front and back. Freestylers who often perform in the park tend to choose a softer highback, giving them more manoeuvrability and comfort. If you want to use a more responsive board, then you should choose a more rigid highback, which ensures better power transmission. The rigidity of the snowboard boot and the highback should be coordinated to one another. In addition, the greater the body weight of the rider, the more rigid the binding should be.

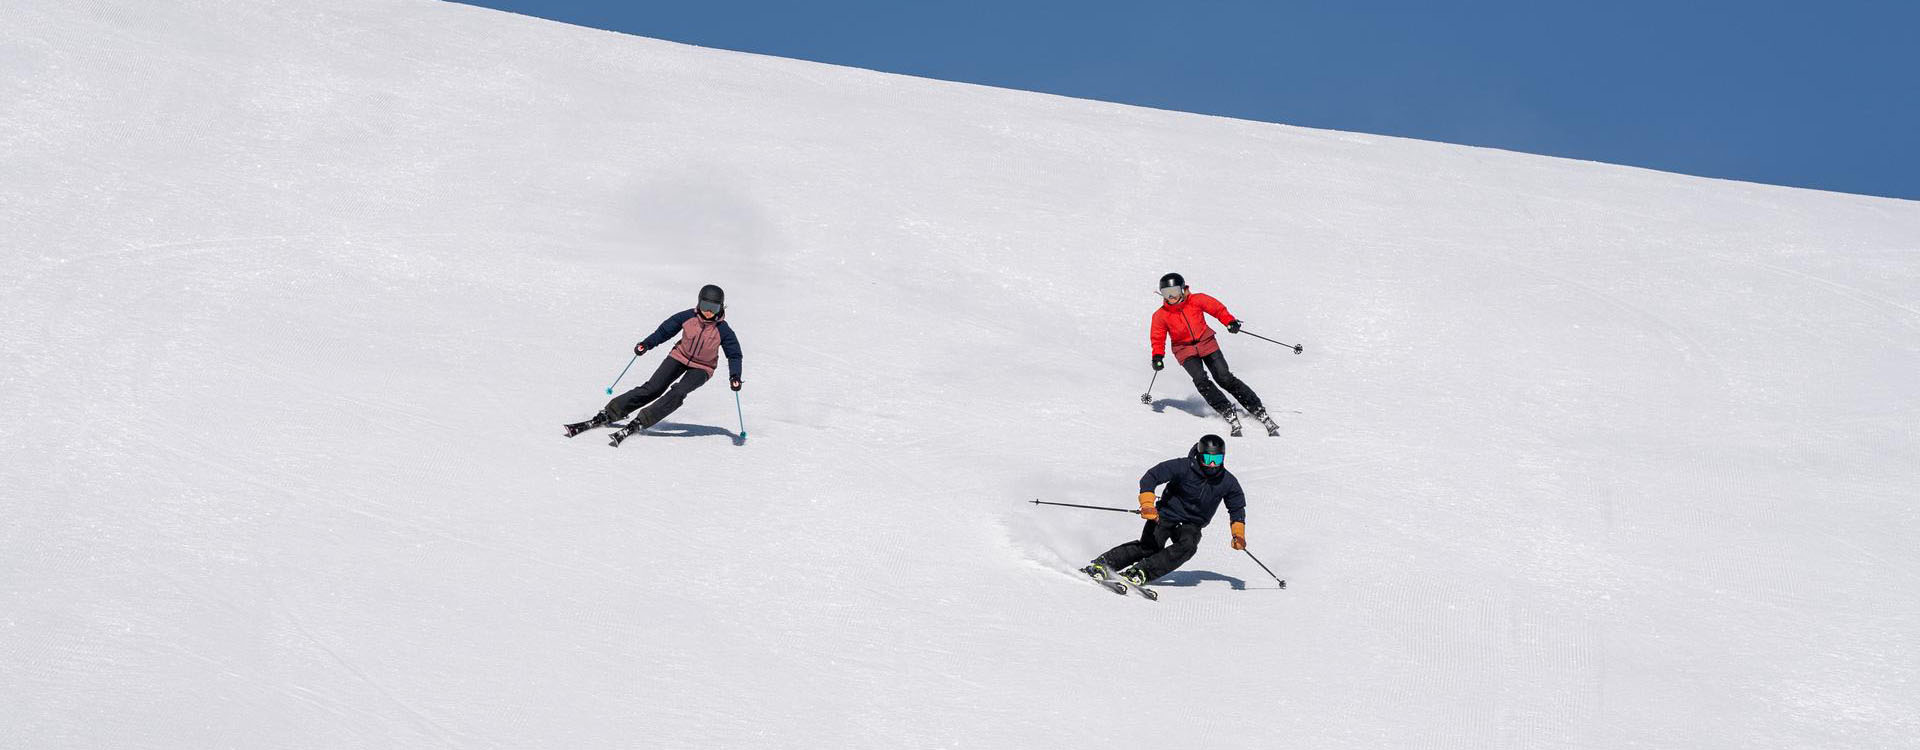
Positioning of the ski binding
Setting up your bindings in the correct position on your skis is important to ensure that your skis can respond optimally on the slopes. The correct position in which to set up your ski bindings varies depending on the ski model. On most skis, several attachment points are indicated, serving as points of reference. In the case of all-mountain skis, the binding is usually attached slightly behind the centre of the ski. In the case of freeride skis, place the ski binding closer to the back for increased lift in the powder. The binding for a freestyle ski should be positioned over the centre of the ski. This ensures simple turn and switch manoeuvres.
Positioning of the snowboard binding
In the case of snowboards, the most important thing is not really the position of the snowboard binding, but rather the angle of the binding. In setting this up, we go up in three-degree increments. If you’re frequently in the park, choose a central V-position, also known as a duck stance. This corresponds to an angle of +15 and –15 degrees, spaced about shoulder width apart. This position enables easy movement in both directions and protects the joints.
All freeriders should set up the bindings on their snowboard so that they are tighter and set back slightly. This enables the nose to be held over the snow with less force. Angles of +21° and +9° serve as benchmark values. Last but not least, the all-mountain setting. For greater versatility, a slight duck stance position with a little setback is recommended, for example +12° and +18°.
The supreme discipline: setting up your ski bindings with the Z or DIN value. This is an individually defined value at which the ski binding will release in the event of a fall. Setting the correct Z value is essential in order to minimise the risk of injury. We therefore recommend that you contact a specialist shop to set up your ski bindings for you. The specialist retailers can provide you with a certificate that serves as the basis for insurance claims.
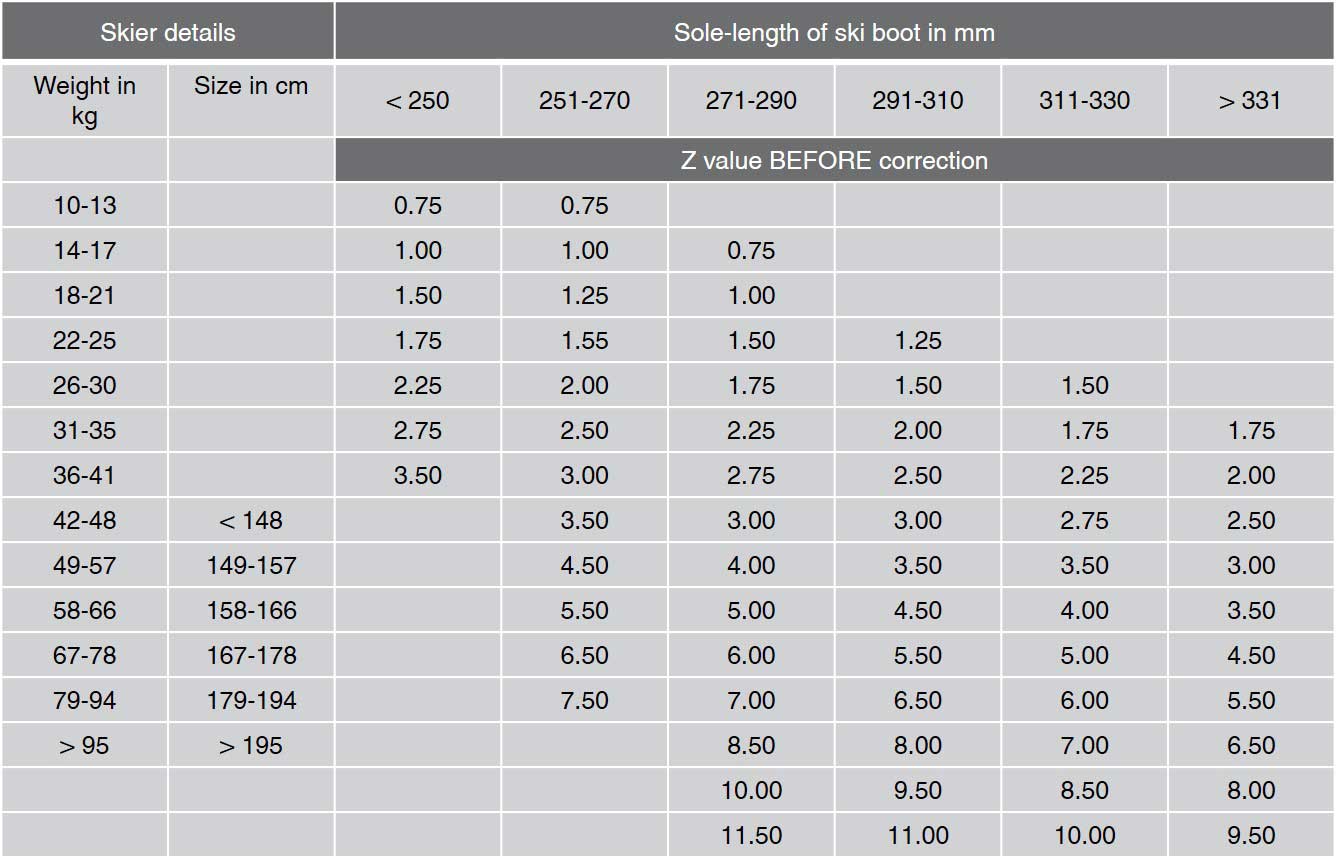
However, if you still decide to set up your skis yourself, you do so at your own responsibility. You can use the table below to set up your bindings. The Z value is calculated based on body weight, body size, age, ski boot sole length and skier type.
There are three different types of skiers: Beginners who ski at a gentler, slower speed can take the Z value as per the table. With this value, the ski binding will release easily. Advanced skiers who take on more challenging slopes at higher speeds should adjust the Z value one row downwards. Pros with an aggressive skiing style on steep slopes should adjust the Z value two rows downwards. This prevents incorrect releasing in the event of high pressure.
For children under ten and adults over 50, the Z value should be adjusted one row upwards. In addition, if weight and size are located in different rows, the smaller Z value is the correct one.
Once you have determined the correct Z value, the next step is to implement this. At the back of the ski binding you will find the adjustment screw and the Z value scale. Adjust the adjustment screw using a screwdriver until it displays the correct Z value. However, even more important than the Z value is to ensure the correct contact pressure, so that the binding does not release too quickly or too slowly. You can adjust the contact pressure on the rear binding. You need to set the screw or the plate of the rear binding into the correct position and tighten it until the ski boot is fixed in place.